Using QuantEcon Servers#
Some notes and tips when using QuantEcon servers
SSH#
Once you obtain the ip address from Using the tailnet you can connect to a server
using ssh
ssh -l <username> <ip>
This will provide you with a terminal interface that you can install anaconda and other
packages that you may need.
Setting up your user account#
Once you login to your account you will need to setup
Anaconda Python
JAX (if applicable)
Anaconda#
To install anaconda you can copy the download address for the latest installer from
this page (or browse the
archive) and use wget to obtain it, such as:
wget https://repo.anaconda.com/archive/Anaconda3-2025.12-2-Linux-x86_64.sh
you can then use this installer to install your local copy of anaconda
bash Anaconda3-2025.12-2-Linux-x86_64.sh
Tip
The version above is only an example — always grab the current release. The shared
quantecon environment pins the anaconda package version
(currently 2025.12).
and run through the necessary installer steps.
JAX#
To setup JAX it is recommended you use:
pip install -U "jax[cuda13]"
This installs JAX with the bundled CUDA wheels and is the same selector used by the GPU lecture
repositories. If the server has a system-wide CUDA / cuDNN install you want JAX to use instead, use the
-local variant (jax[cuda13-local]) — see Installing JAX for the local-CUDA
workflow.
Using Jupyter Notebooks via ssh#
To use jupyter notebooks via ssh you can use port forwarding.
These instructions are from this page
Step 1: Open an ssh connection with port-forwarding
# Replace <REMOTE_USER> with the remote server username
# Replace <REMOTE_HOST> with your remote server address
ssh -L 8080:localhost:8080 <REMOTE_USER>@<REMOTE_HOST>
Tip
If there are other users on the server you may want to choose a more unique port number
such as 9000 instead of 8080
This will connect security to the server and route port 8080 to your localhost.
Step 2: Once you have logged in via ssh (with port forwarding) can run the following command on the server
jupyter notebook --no-browser --port=8080
Then you can copy the address from the terminal which will look like:
http://127.0.0.1:8080/?token=443c61548acc635dfe3aaa8e89271a331a498cb49708894b
and use it in a browser on your local computer to access jupyter notebook to connect to jupyter on the server.
Tip
To use jupyter lab you just request the lab in the above command such as
jupyter lab --no-browser --port=8080
See also
You can also use vscode to connect directly if you use vscode
Using vnc and exporting a Graphical Desktop#
In-Work
This section will be updated once we settle on a good graphical environment to export
Working with remote server in VSCode#
This guide is a great resource for setting up ssh access to a remote server using VSCode.
The key steps are:
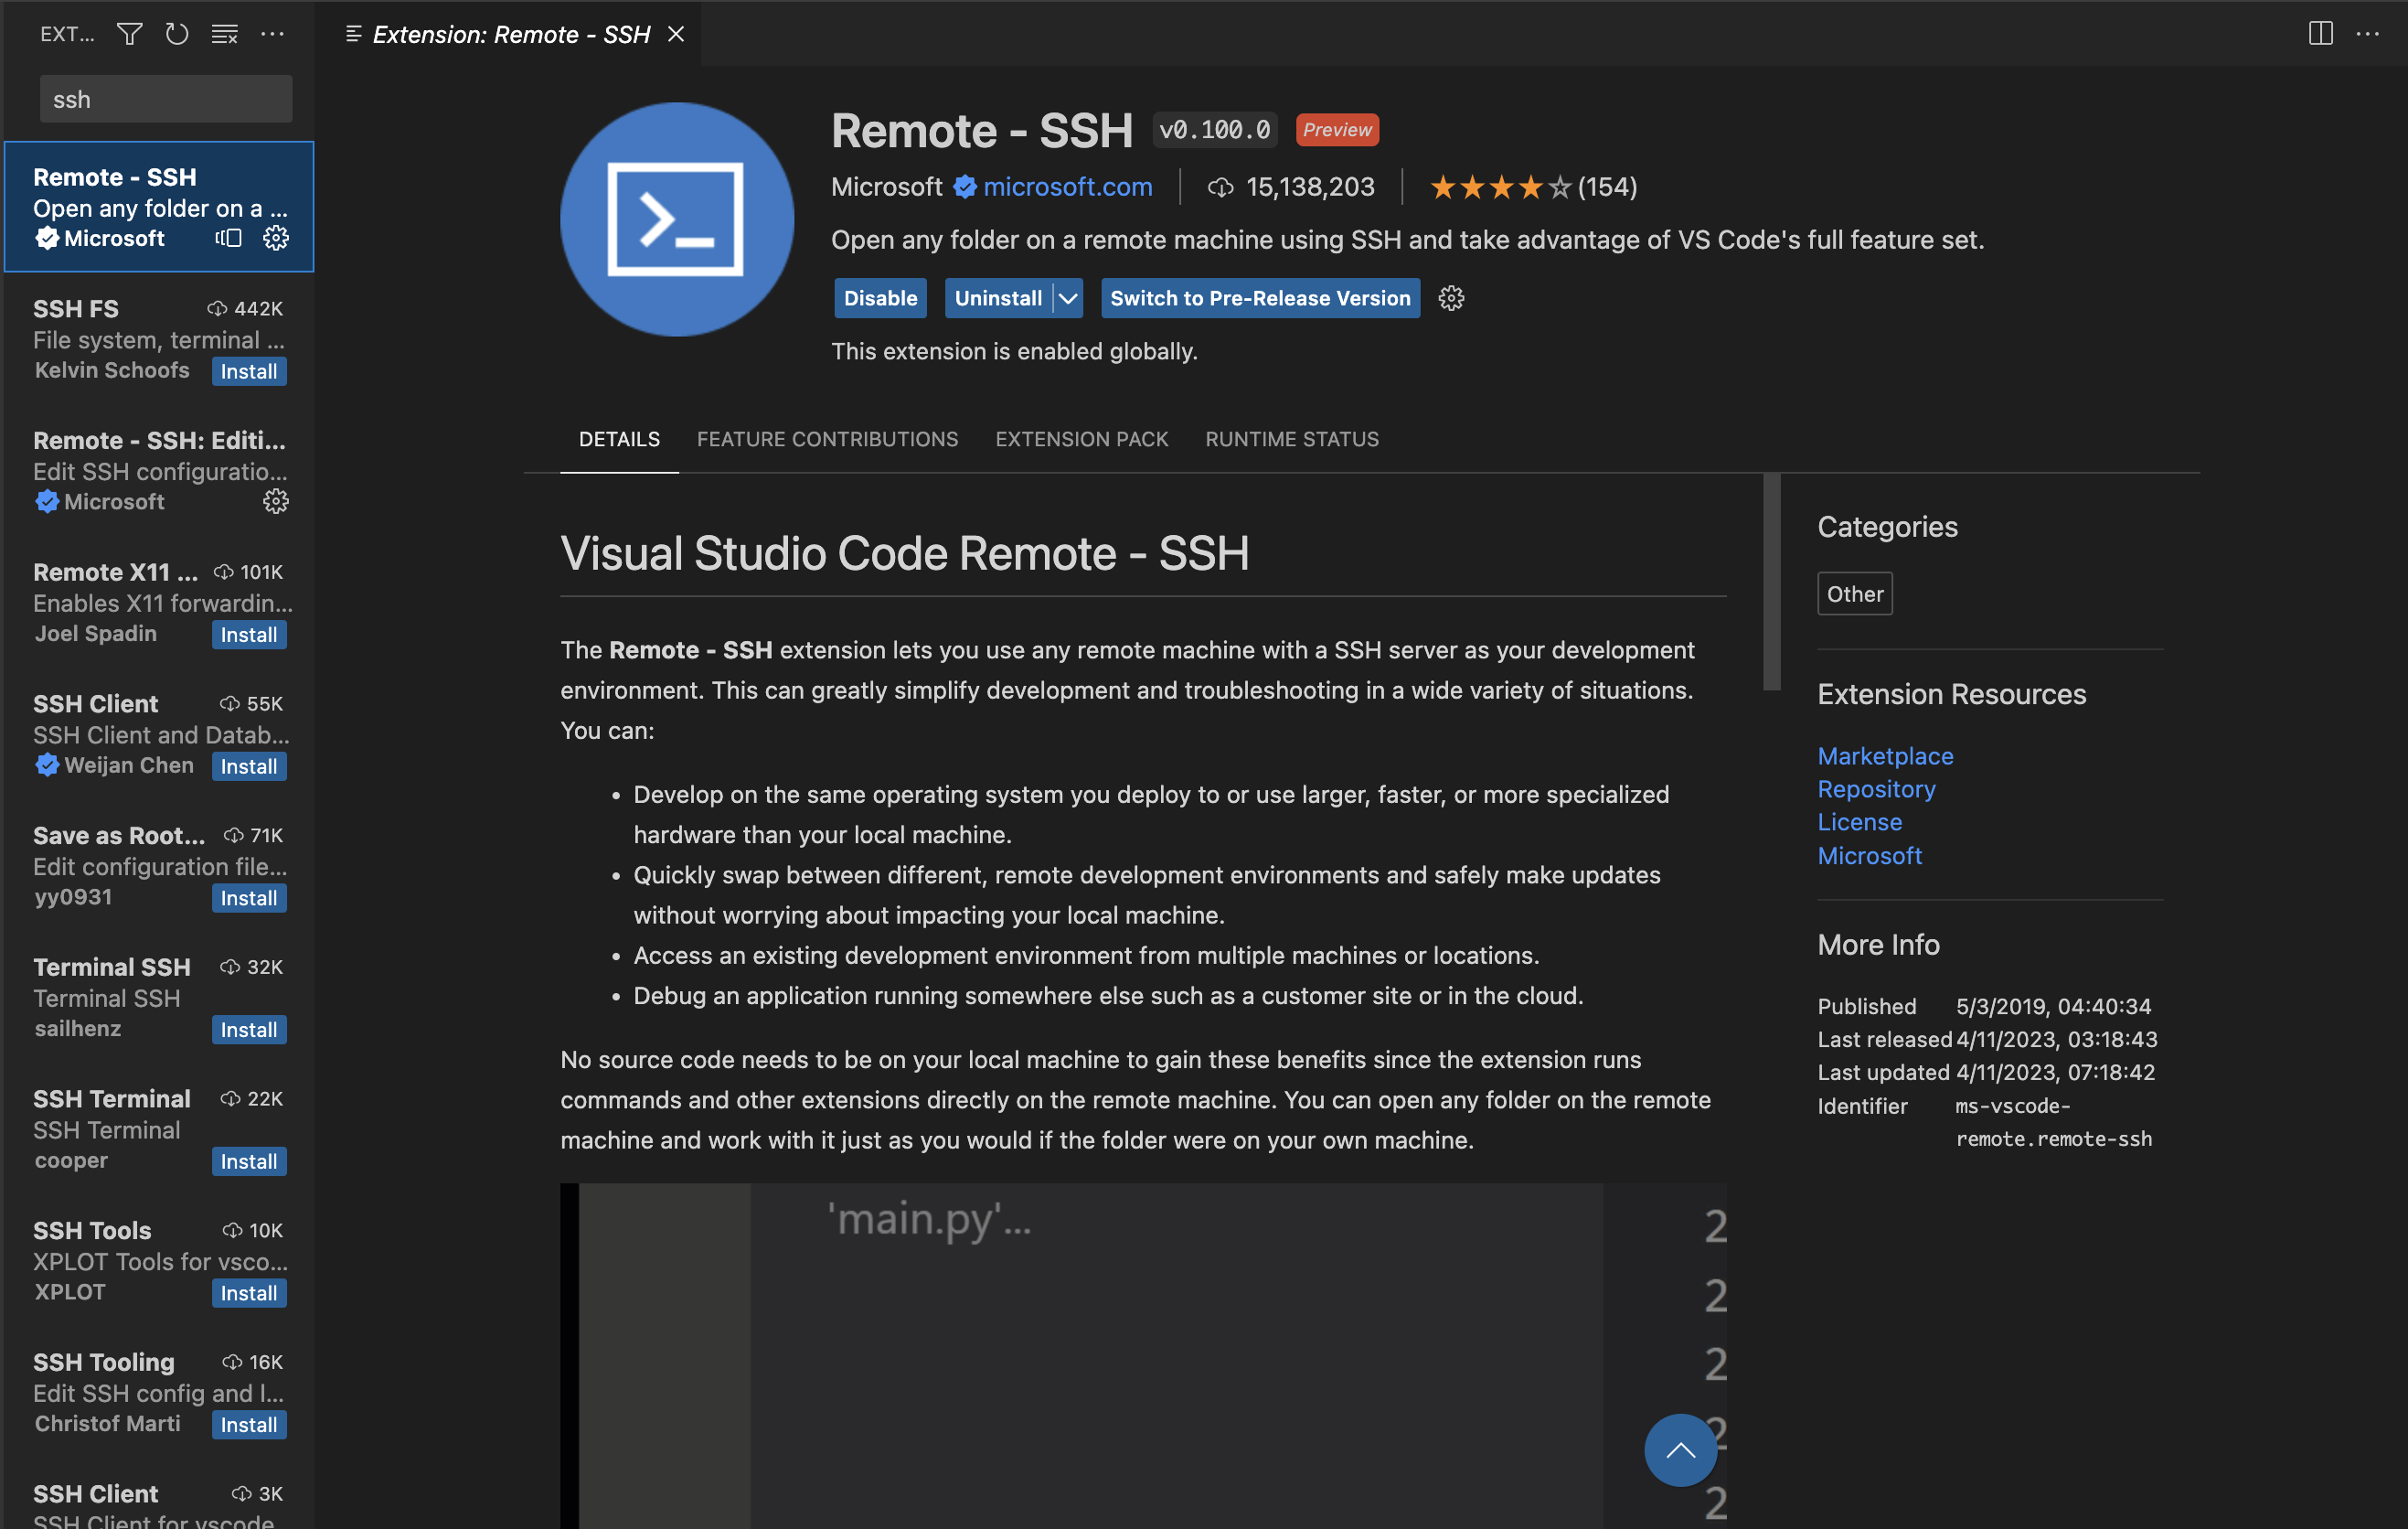
Install the
Remote-SSHextension
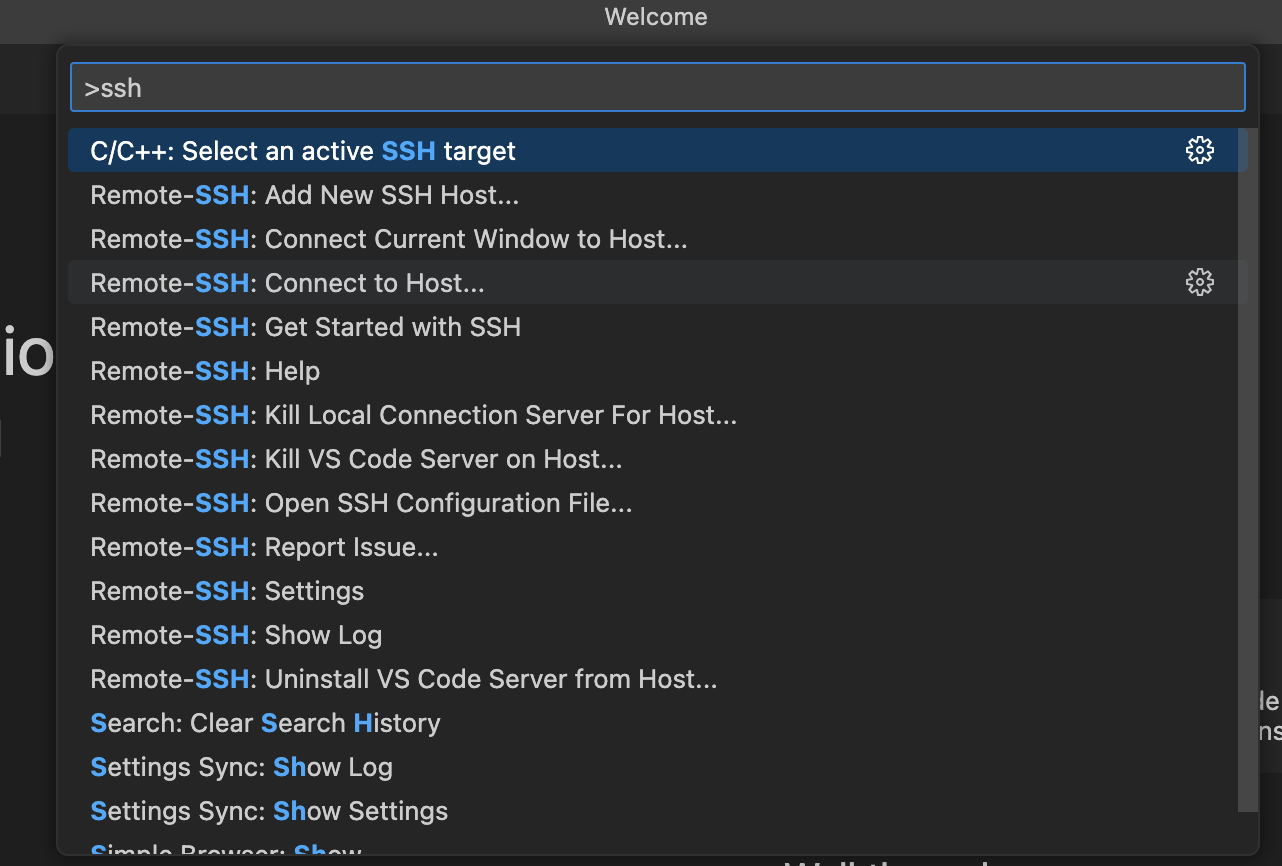
Connect to the remote server using the
Remote-SSH: Connect to Host...command from the Command Palette (F1or⌘ + P) and pick the configuration with the name you added in the previous step.
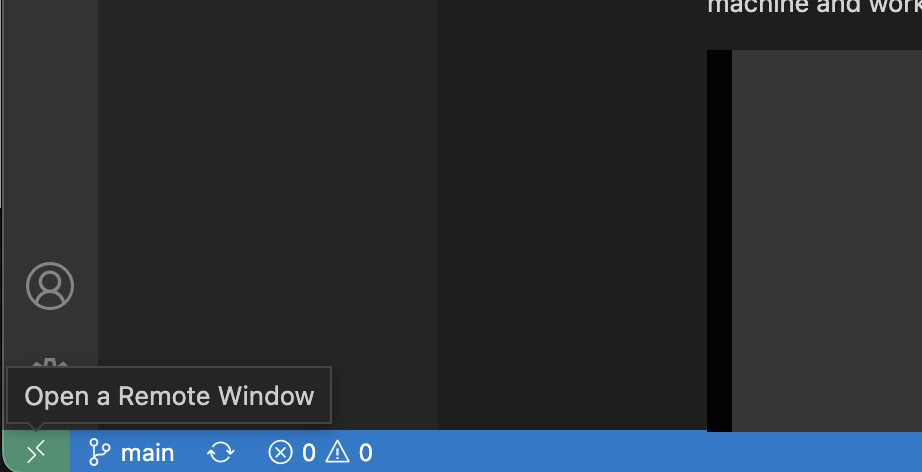
or click on the Remote-SSH icon in the bottom left of the VSCode window
Once connected you can use the
File > Open Folder...andTerminal > New Terminalcommands to open folders and get a shell in the remote server.You can also use the
Remote-SSH: Open Configuration File...command from the Command Palette (F1) to edit your configuration file (~/.ssh/config) in case you need to make any changes (like adding an SSH key).You can use the
Remote-SSH: Connect to Host...command again to quickly connect to the saved hosts or configure a new one.
One benefit of using Remote-SSH is that it will port forward Jupyter Lab to your local machine so you can access it via the browser

It also provides a graphical interface to the file system and terminal similar to what you would get if you were working locally.
Popular extentions such as Live Server also work well with Remote-SSH and allow you to view the rendered html in the browser.